Tvorba finálních souborů AnhHai | 07.04.2008
The author is D.A.N.O
Creation of the IPL file
The IPL file is useful for adding the object to the right place, where you want to have it. This guide is only an example. When you continue, following this IPL file, the object will appear exactly in front of the entrance to your villas. Open the Notepad and write there this information…

Save as dump.ipl
Creation of the IDE file
Creation of the IDE file

The IDE file serves to start the game with the dff and txd files.
Open the Notepad and write up this information. Then save the file as dum.ide.
GTA_VC.DAT
You don't have to create this file, just download gta_vc.dat. As soon as you have it, place it on your desktop.
Location of all files
Location of all files
You now have all necessary files and you must sort them into gta vc folders.
1) Copy the "gta_vc.dat" file into the "DATA" folder in the game directory.
2) The files " IPL , IDE , COL " belong to the "MAPS" folder which is in the "DATA" folder.
3) And what about the “DFF , TXD” files? At first open the IMG TOOL and select OPEN, then you must find gta3.img folder, which is in the MODELS folder. As soon as you find it, open it and then click to COMMANDS, ADD and find two files - cube.dff, cube.txd. Select them and choose the open choice. And that’s all.
Setting of EXE file

To start up the game you need set the capacity of the object and
dumm, but you need a special program call Limit Adjuster for that. You
can download it here.
Open the downloaded program and find the GTA Vice City game folder.
There should be a gta_vc.exe start icon in. Click to open it and set
the values according to the picture, and as soon as you are finished,
save your work.
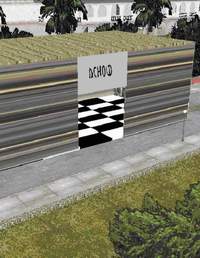
Final result