How to add modifications M. Biarinec | translated by: Honza & Colxfile | 21.02.2009
In the following tutorial, you’ll learn how to add modifications, textures and some other things. Adding of all of these are done in the same way.
What we need:
A program for unpacking game files. (Especially the textures) We chose Spark IV (This link leads to a thread on the forum from the author)
You can use Open IV too.
In the following tutorial, we’ll add an Adidas jacket in to the game, but you can add whatever you want, the method is the same.
Install Spark IV. (You don’t need it to be in the same folder as the game.) Then just start SparkIV.exe
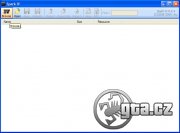
1) Start the program and click Browse.

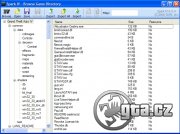
2) The program will now search for the game (deafult in Program files) and then shows it.

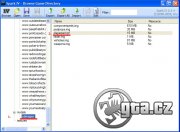
3) To add an item of clothing to the game, we find the cdimages folder and next the file playerped.rpf.

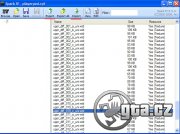
4) After clicking on playerped.rpf, a new window pops up, which contains the textures we need. Look for the file uppr_dif_010_c_uni.wtd and select it by clicking it. We recommend you to backup old file by clicking Export button. Then just click Import and find the new downloaded file uppr_dif_010_c_uni.wtd and import it.

5) After you import new file, make sure to save the archive by clicking Save

6) There we go :)

2) The program will now search for the game (deafult in Program files) and then shows it.

3) To add an item of clothing to the game, we find the cdimages folder and next the file playerped.rpf.

4) After clicking on playerped.rpf, a new window pops up, which contains the textures we need. Look for the file uppr_dif_010_c_uni.wtd and select it by clicking it. We recommend you to backup old file by clicking Export button. Then just click Import and find the new downloaded file uppr_dif_010_c_uni.wtd and import it.

5) After you import new file, make sure to save the archive by clicking Save

6) There we go :)


